When creating road projects, one of the more time-consuming activities is creating the correct road markings. The ZWTraffic application saves a lot of time for ZWCAD users
In this article, we'll look at the possibilities of an addon for traffic designers using ZWCAD. We'll examine what tools ZWTraffic offers in terms of vertical signs, their editing, and additional features. Also, we'll expand a sample intersection with vertical signs available in the programme and use the tools to edit these signs.
Introduction
The ZWTraffic application requires ZWCAD Professional in the same version to work. It's available in many versions and languages; e.g., the Polish, German, and Czech versions have a dedicated library adapted to the requirements of local regulations. The English or French version is built on top of the Polish version with appropriate translation, but most features are universal, and the library can be easily adapted to your signs.
The application should be launched from a shortcut on the desktop or loaded with the appropriate function from the ribbon, so that it doesn't unnecessarily slow down ZWCAD when it's not needed.

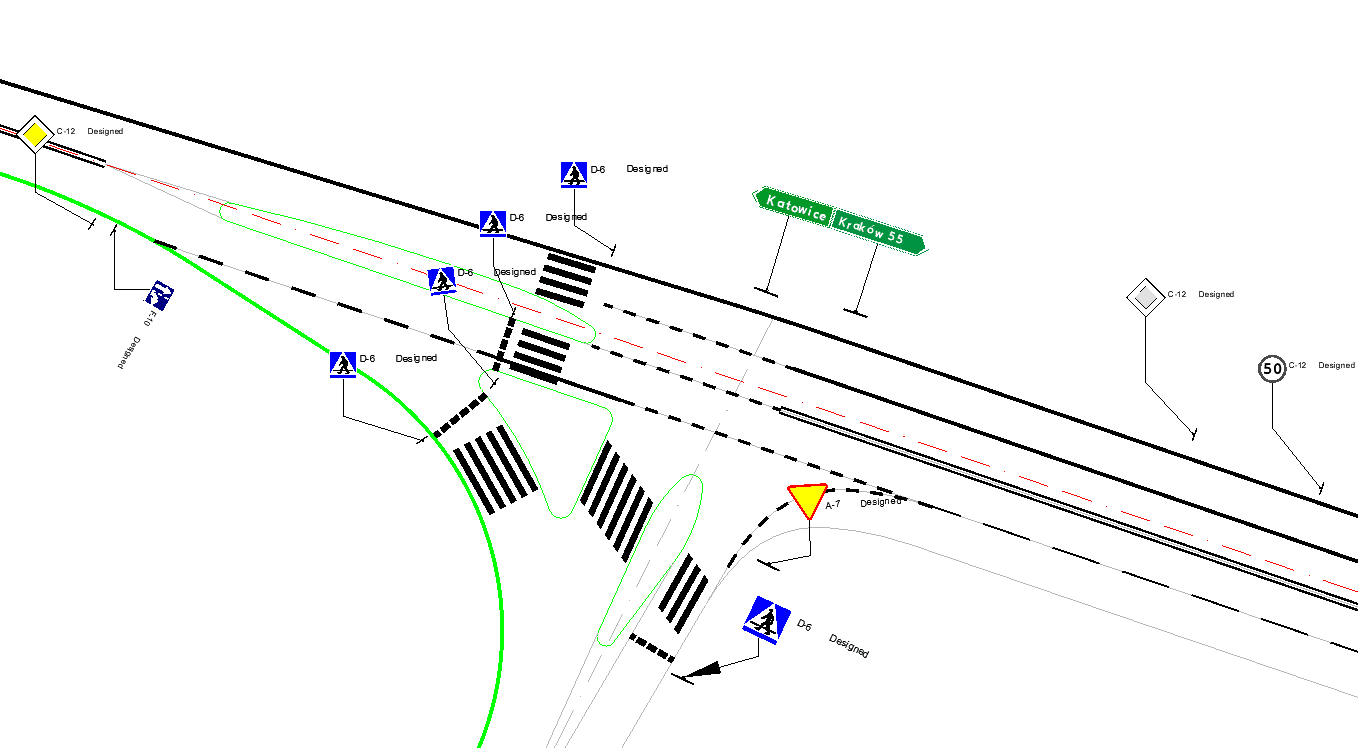
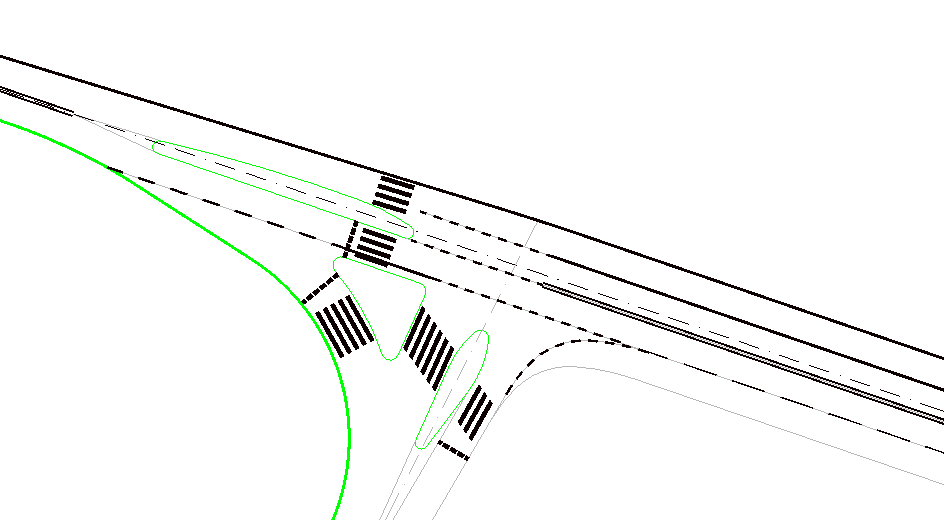
Let's take a look at the drawing of the example intersection we'll be working on today and we can get started.
Inserting vertical signs from the ZWTraffic library
The first function in ZWCAD after installing our addon, not counting loading the application, is the sign library. Let's take a look at it and discuss what's in there, as this is a command we'll be using frequently.
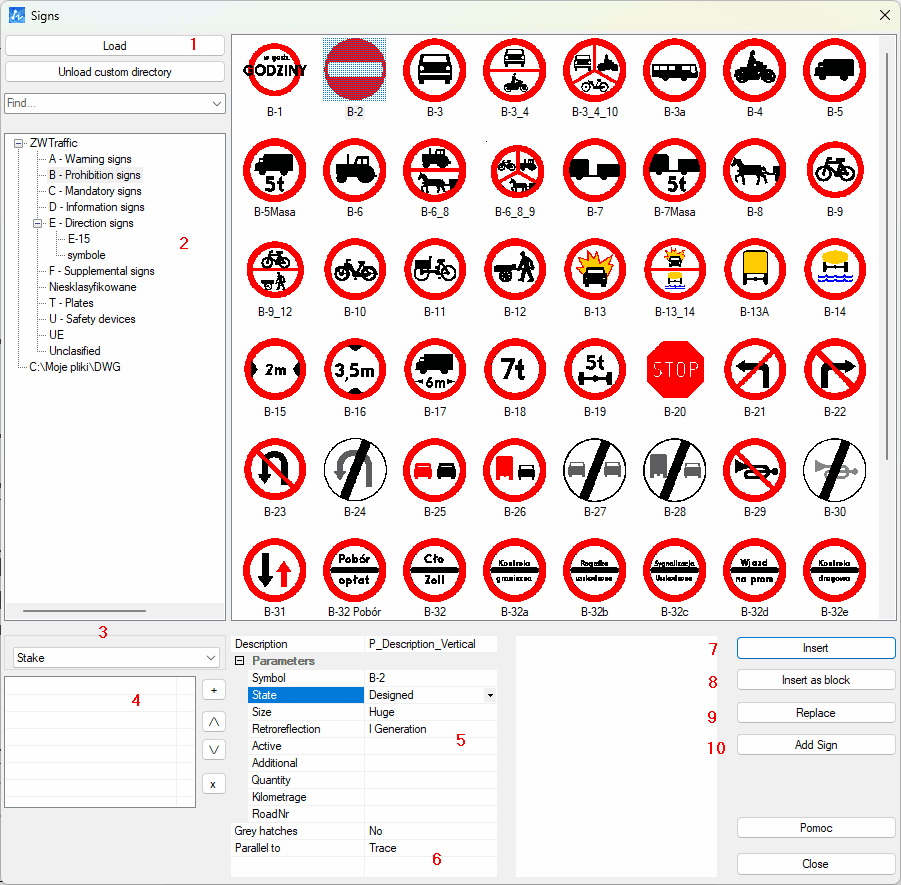
- A button to load your own block library with signs.
- A library of signs that can be inserted in several ways.
- The type of support on which the sign will be placed.
- A list of signs added at the same time. Using the buttons next to it, we can add or change the order of the sign faces that will be added to the selected support.
- Sign options such as size, state, symbol etc.
- Angle of rotation of the sign symbol, which can be inserted with respect to either the stand or the reference line.
- A button for inserting a sign.
- Option to insert the frontage itself as a block.
- Tool to replace an existing sign front in the drawing with the selected one.
- Button to insert a sign as an additional one on top of an existing one.
As we can see, there are many options, so let's take a practical look at what the process of placing such a sign on our CAD drawing looks like using ZWTraffic:
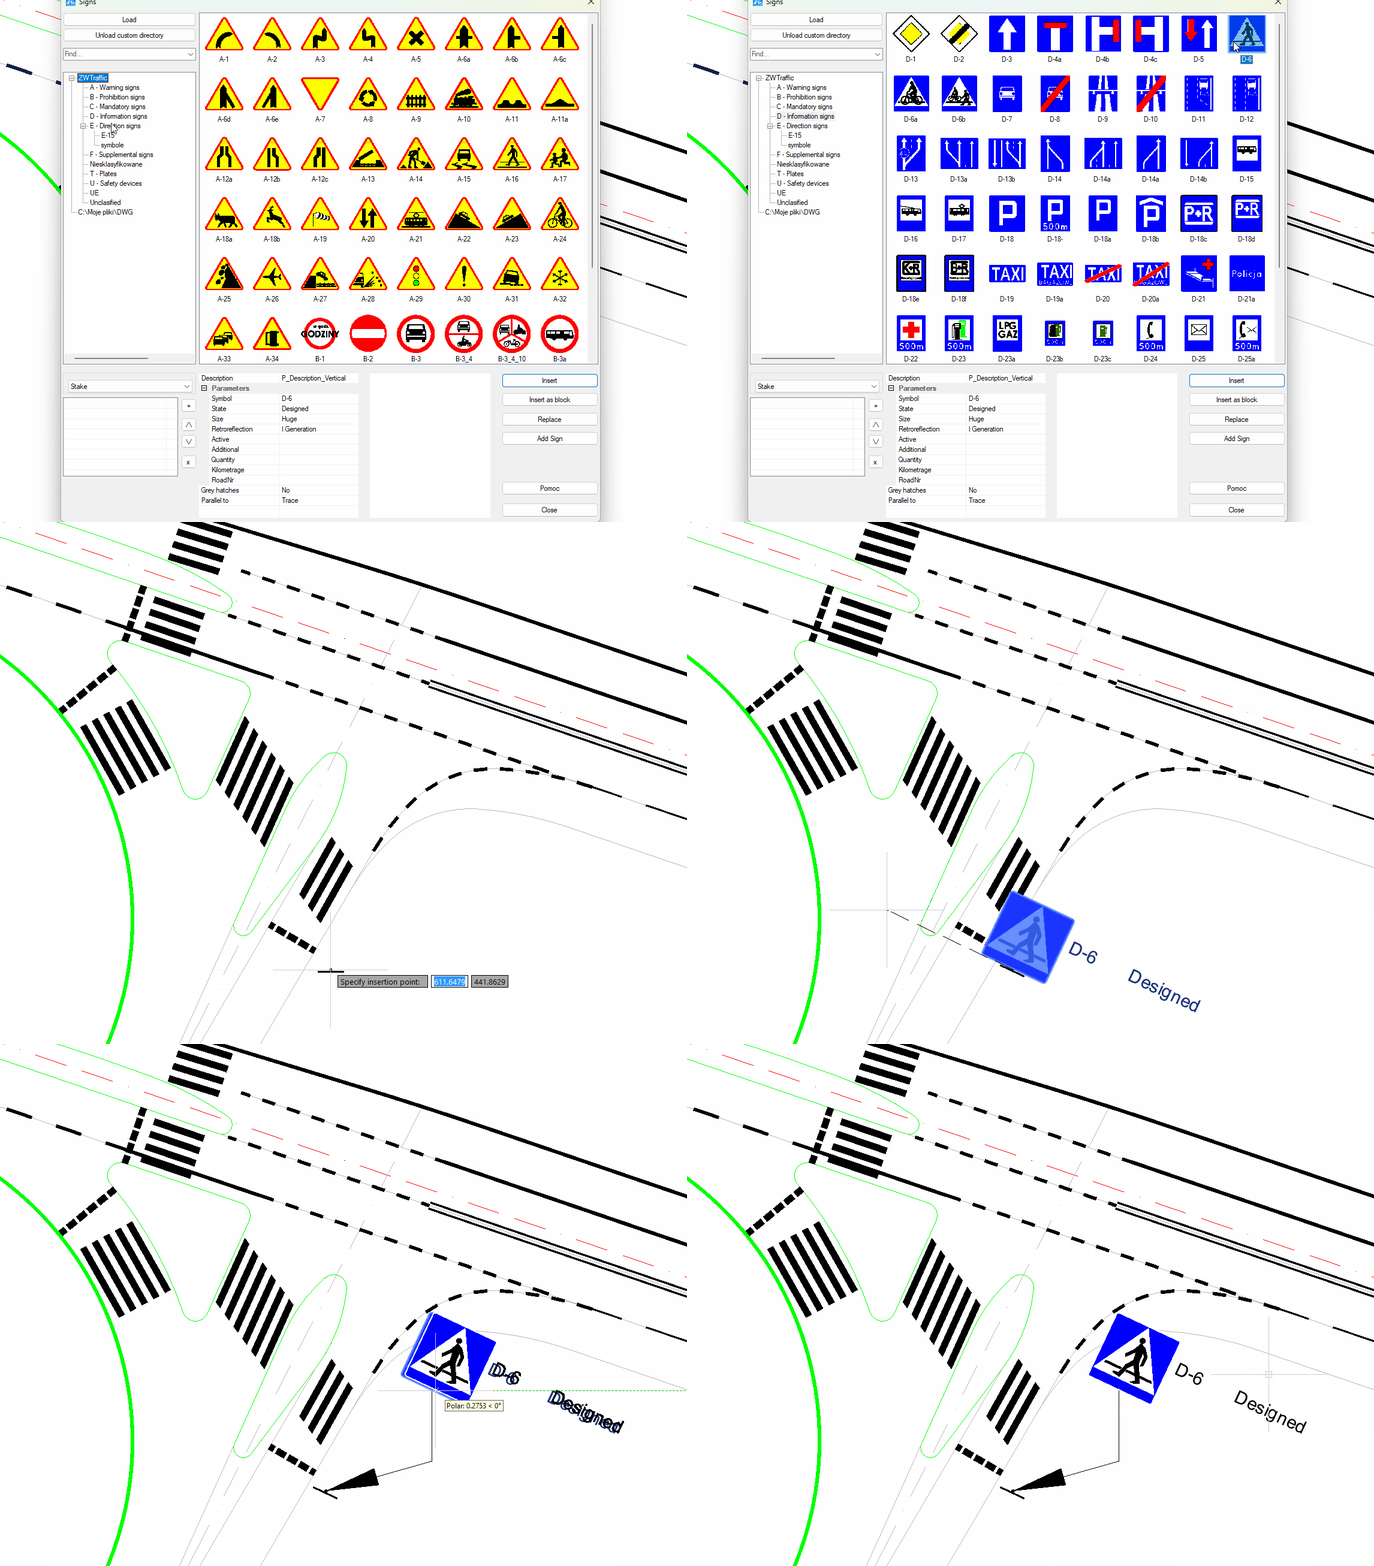
So we can see how simple it has become to insert signs in ZWCAD. In addition to the sign database, the addon offers us a number of tools to make working with this type of project easier. Some signs have values such as vehicle weight limit or speed limit. In this case, when inserting a sign into a CAD drawing, the programme will ask us to specify the value. This value can easily be changed later with the appropriate command.
As you can see, the options in ZWTraffic are numerous, but I would like to highlight two important aspects at this point: the grouping of objects and the angle of rotation of the face of the sign.
Basic settings
Using the example of the inserted D-6 sign, let us look at the two settings I've mentioned.

Point 6 in the library description drew attention to the angle of rotation of the sign. Above we have the difference depending on the chosen setting. The front of the sign can either be perpendicular to the reference line or parallel to the stand position.
The second setting worth noting is the single selection function.
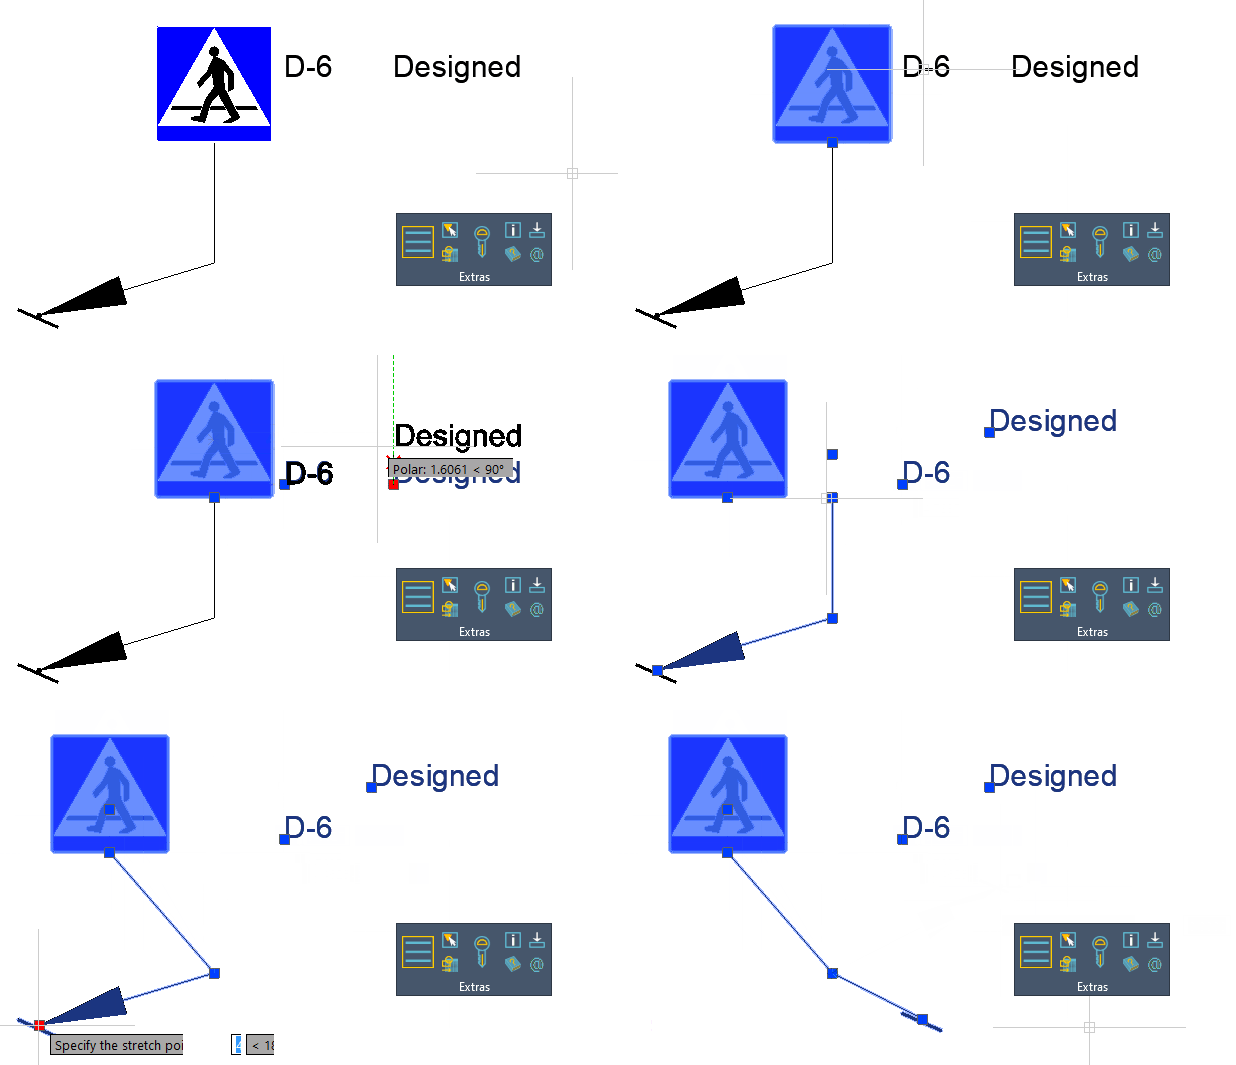
Signs in the programme are inserted as groups, in which case we can move or delete the whole thing with one handle. However, we can change this with a command that I pulled out of the ribbon, for example.
It makes ZWCAD display each object separately, so we can more easily delete parts of it or simply move them to another place.
I encourage you to take a look at the addon settings in the same panel, by the way, as there are some interesting options here.
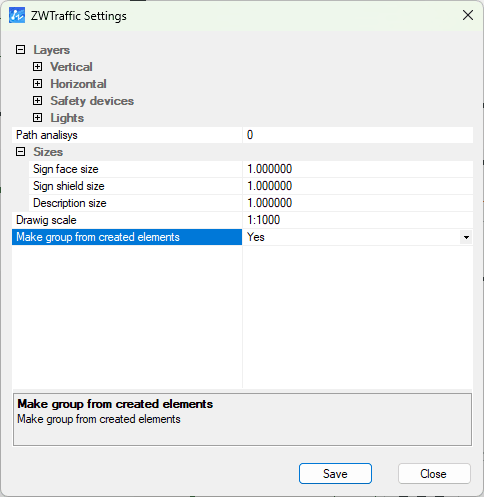
Firstly, we can choose which elements will be placed on which layer. In addition, we can determine the scale of the different sign fragments or set the grouping of objects.
Inserting direction signs
Inserting a directional sign is quite simple thanks to the extensive generator. So let's take a look:

- Insertion of an additional line into the sign.
- Road type and number. Depending on the type of road selected, the colour of the road number will change.
- Name of the destination town.
- Distance
In addition, it's worth looking into the settings - either size or status, but also additionally the direction.
This is what this particular sign looks like when you click on Insert:
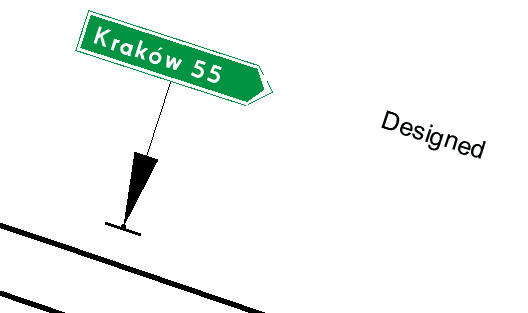
The application also offers another sign generator, this time a collective information board, where we can additionally add directional arrows. This is an example:
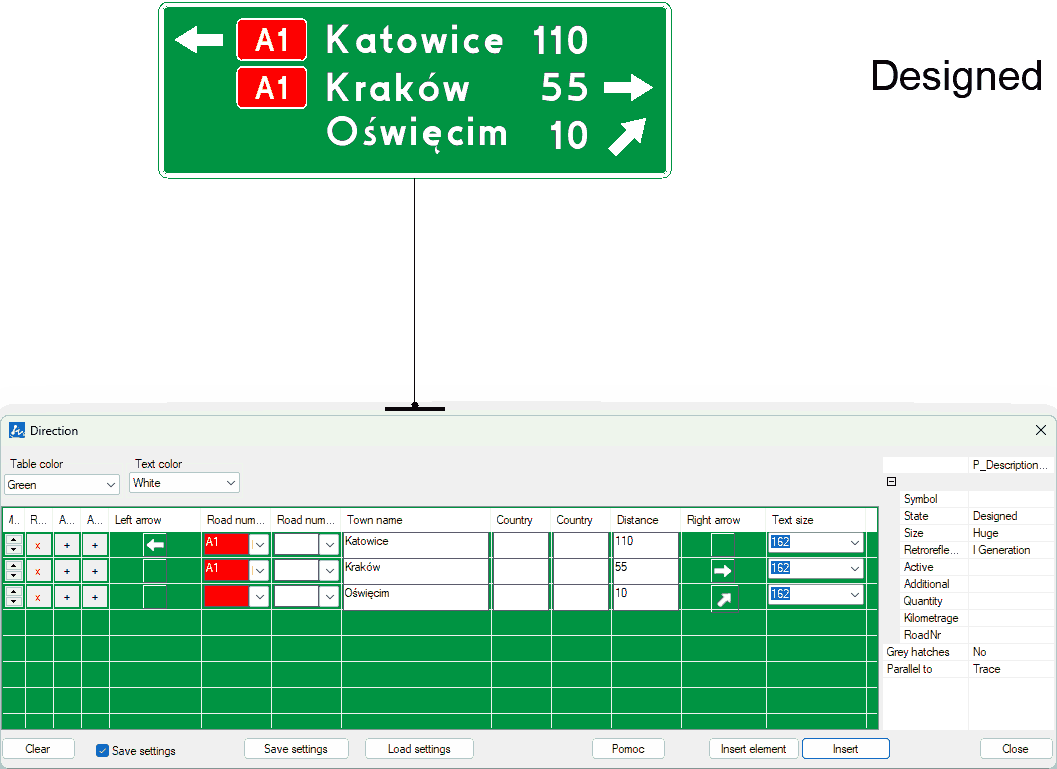
Vertical sign generators
While we are on the subject of generators, ZWTraffic offers quite a few of them. We are talking about functions that substitute the values we have selected into specific templates. Such generators apply, for example, to the creation of collective signs, variable message signs, roundabout access signs, administrative boundaries, or the division of lanes before an intersection.
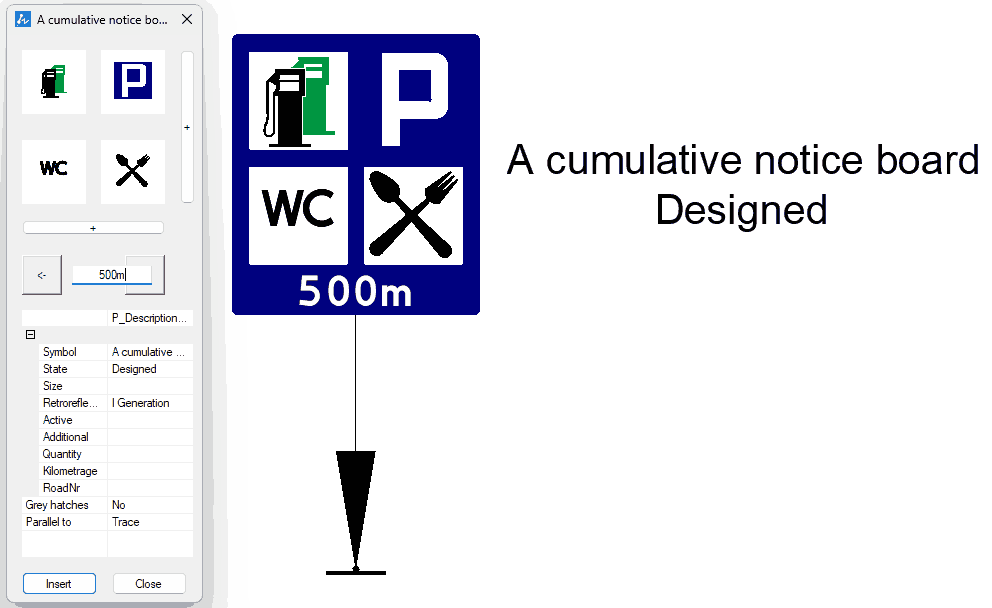
Here we see an example of creating this type of sign, where we can set the values ourselves.
The programme offers even more advanced generators, e.g., for diversions signs, expressway exits, or roundabouts, but we'll deal with this in a separate, dedicated article.
Tools for editing vertical signs
The ZWTraffic addon also adds to ZWCAD several tools for editing already inserted vertical signs, which are available in the first panel.
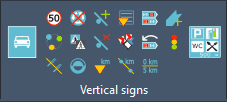
Here we find tools for reversing signs, changing the state or value, mirroring or creating a table of signs.
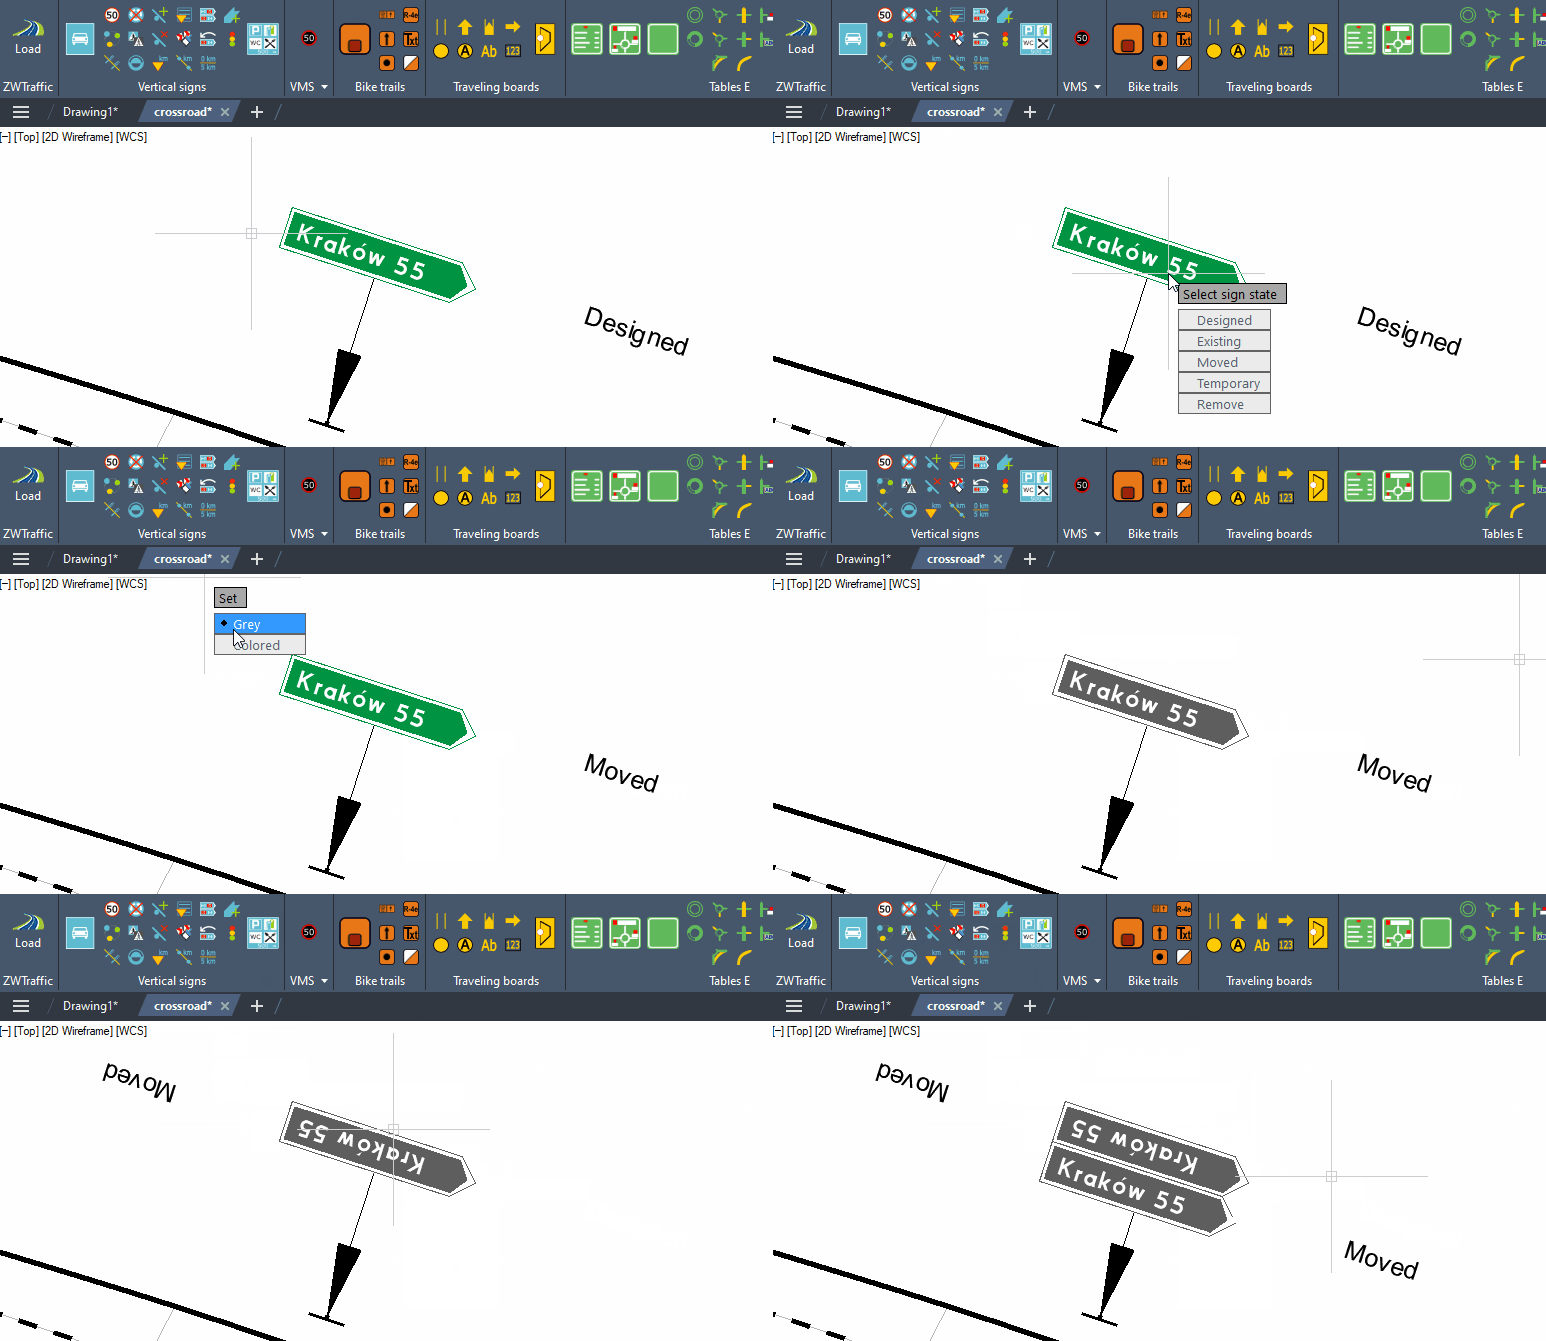
It is also worth mentioning that by double-clicking on the description of the sign, we can change its description and other values.
After all is done, we can use a special function to create a report with ZWTraffic:VerticalReport command or a button in the vertical sings tab.
