Whether you're working on area and line measurements or generating reports, ZWMetric application can help you save time and make work more comfortable
ZWMetric, a powerful application designed for cost estimators, designers, and architects, simplifies tasks such as calculating areas, labeling parcels and buildings, and generating comprehensive reports.
ZWMetric is an exclusive addon for ZWCAD Professional only. Download ZWCAD for tests here. If you do, you can download the application from our website and test it for 30 days. Now let's see how our addon may work for you.
Firstly, the settings
Once the ZWMetric application is installed, launch it either from the desktop or by using the button on the ribbon, which will load its contents into ZWCAD.

Then it's worth going into the settings, where you have lots of things to set up for your project.
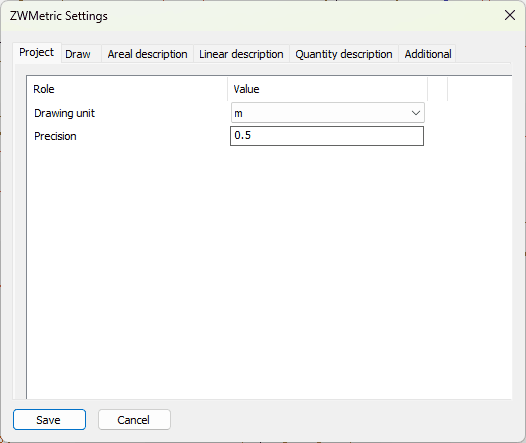
Before diving into the details, it's crucial to ensure that the drawing unit in ZWMetric matches the one used in your project. This foundational step ensures consistency, and from there, you can adjust settings like font size, accuracy, and hatch properties to align with your project's requirements in ZWCAD.
Now we move on to any of the functions from the markings or measurements tab, as these are the ones we will mainly use. These are based on a common menu that the functions in the ZWMetric will use.
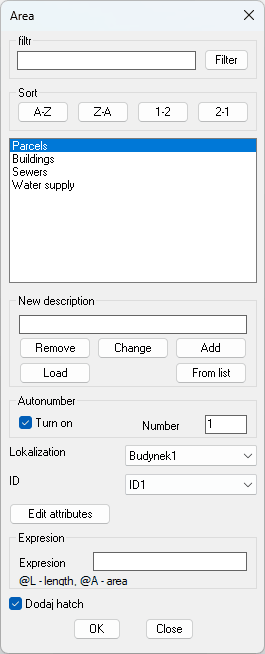
Within ZWMetric, you'll find a window packed with options for managing descriptions, a key feature that enriches the ZWCAD platform. Adding new descriptions in the designated field is a great starting point for detailing areas or objects in your projects.
We also have tools to manage them, such as filters, sorting, or editing a description. We can also edit the attributes that will appear next to the description.
Nothing prevents us from adding a hatch, which is set in the addon's settings.
Describing areas
After setting up initial descriptions in ZWMetric, the next step is labeling. The addon offers a variety of description types, each designed to integrate smoothly with ZWCAD, providing a detailed look at how these functionalities can be applied to your projects.
I decided to utilize the prepared description of buildings to detail a residence. After selecting the first command and opting for the building description, I initiated the function. Promptly, the program requested the designation of the first point, which I provided. In the ZWMetric preview, you can see the auxiliary parameters, but I was only interested in the subsequent angles of the building.
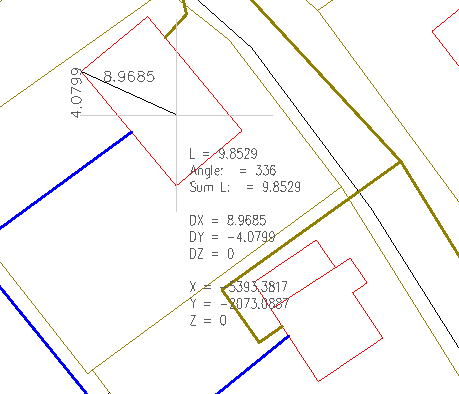
After selecting the last one, I clicked a mouse button and selected the place to insert the description. This is the result I got:
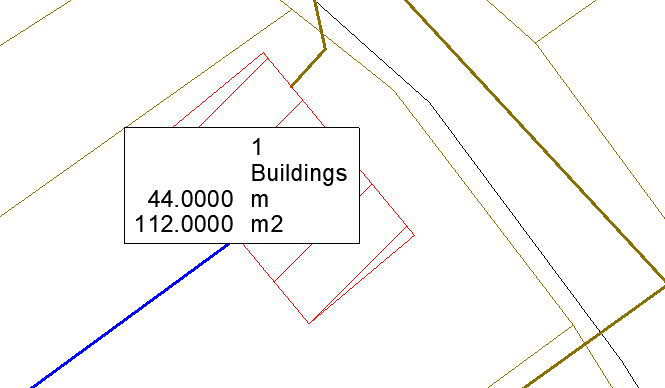
The listing displayed the building's number, followed by the category I had established. Below this is the perimeter of the house and its area.
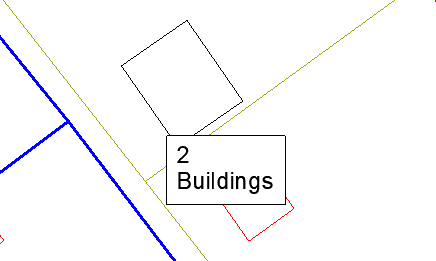
For instances requiring solely the number and category's description, ZWMetric's second function proves invaluable. It works in a similar way: we mark the vertices of the room, and at the end, we give a simple description.
The third command likewise allows the perimeter and area to be described without regard to number and category.
Describing confined areas
ZWCAD simplifies the process of labeling rooms or buildings with its next function. Unlike selecting vertices, this function requires indicating the room's interior, allowing for a collective description of multiple objects or areas.
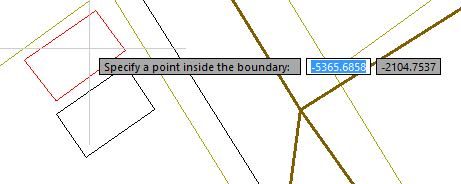
Once an area is selected, it is encircled by a layer-dependent frame, indicating selection. After selecting the relevant objects, confirmation with Enter finalizes the process.
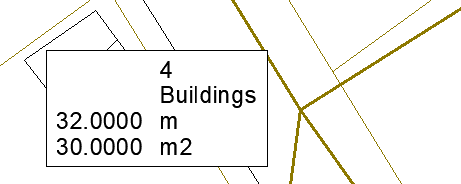
Describing parcels and buildings
The Mark area function in ZWCAD enables, for example, the description of a parcel by omitting selected areas.
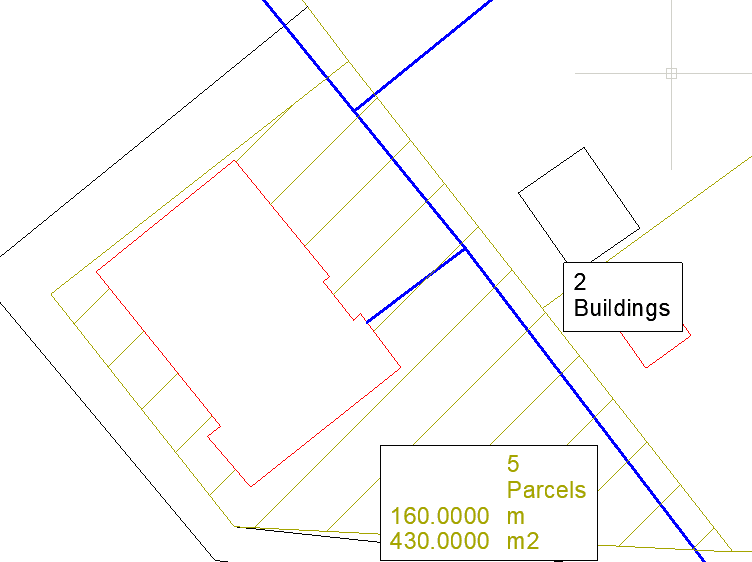
Upon executing the command, I selected a fence polyline and then identified the building to be excluded from the calculation. The result was a detailed description of the parcel, including number, category, perimeter, and area, with the residential building omitted.
Our CAD software also offers Line measurement function that aids in measuring and describing various line types. In my project, two line types are present: blue for water and brown for sewers. This command allows for effortless summaries to be incorporated into the CAD drawing.
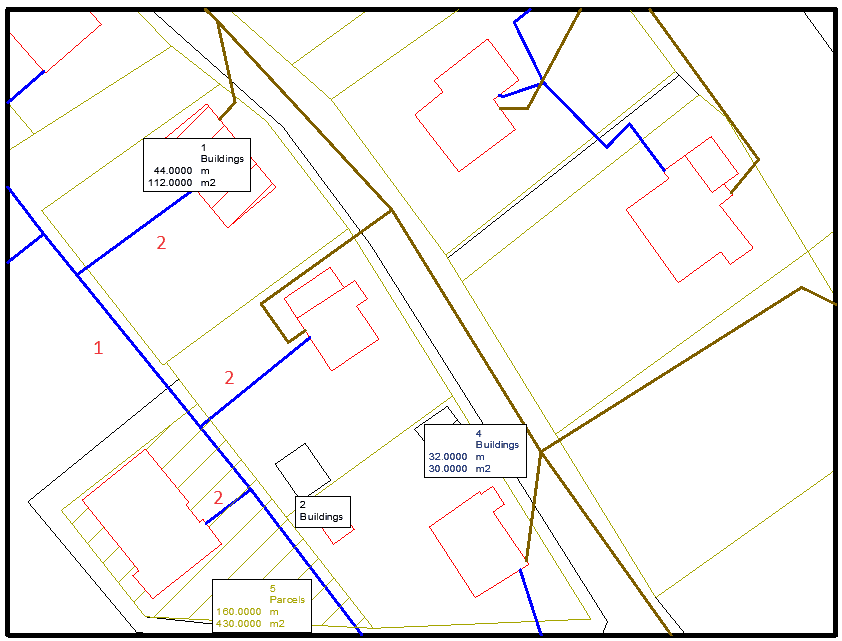
As an example, I used the function to describe the water supply depicted in the screenshot labeled as number 1, and then proceeded to describe the water supplies marked with the number 2.
Doing this with ZWCAD is extremely easy. I initiated the function, selected Water supply, and pointed to line 1, then confirmed with Enter. Now, as standard practice, it remains to select the insertion point.
For the second option, the process was similar; this time I selected 3 lines and then confirmed with Enter. The outcome is as follows:
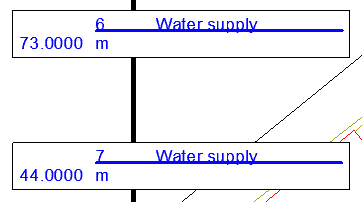
Similarly, I prepared the sewers; this time I contented myself with listing the lengths of all the lines.

All objects inserted in this manner are easy to edit with ZWCAD. They can be effortlessly moved, edited, or deleted in whole or in part.
You can also easily find your way around the descriptions
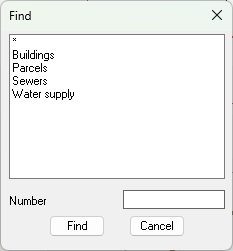
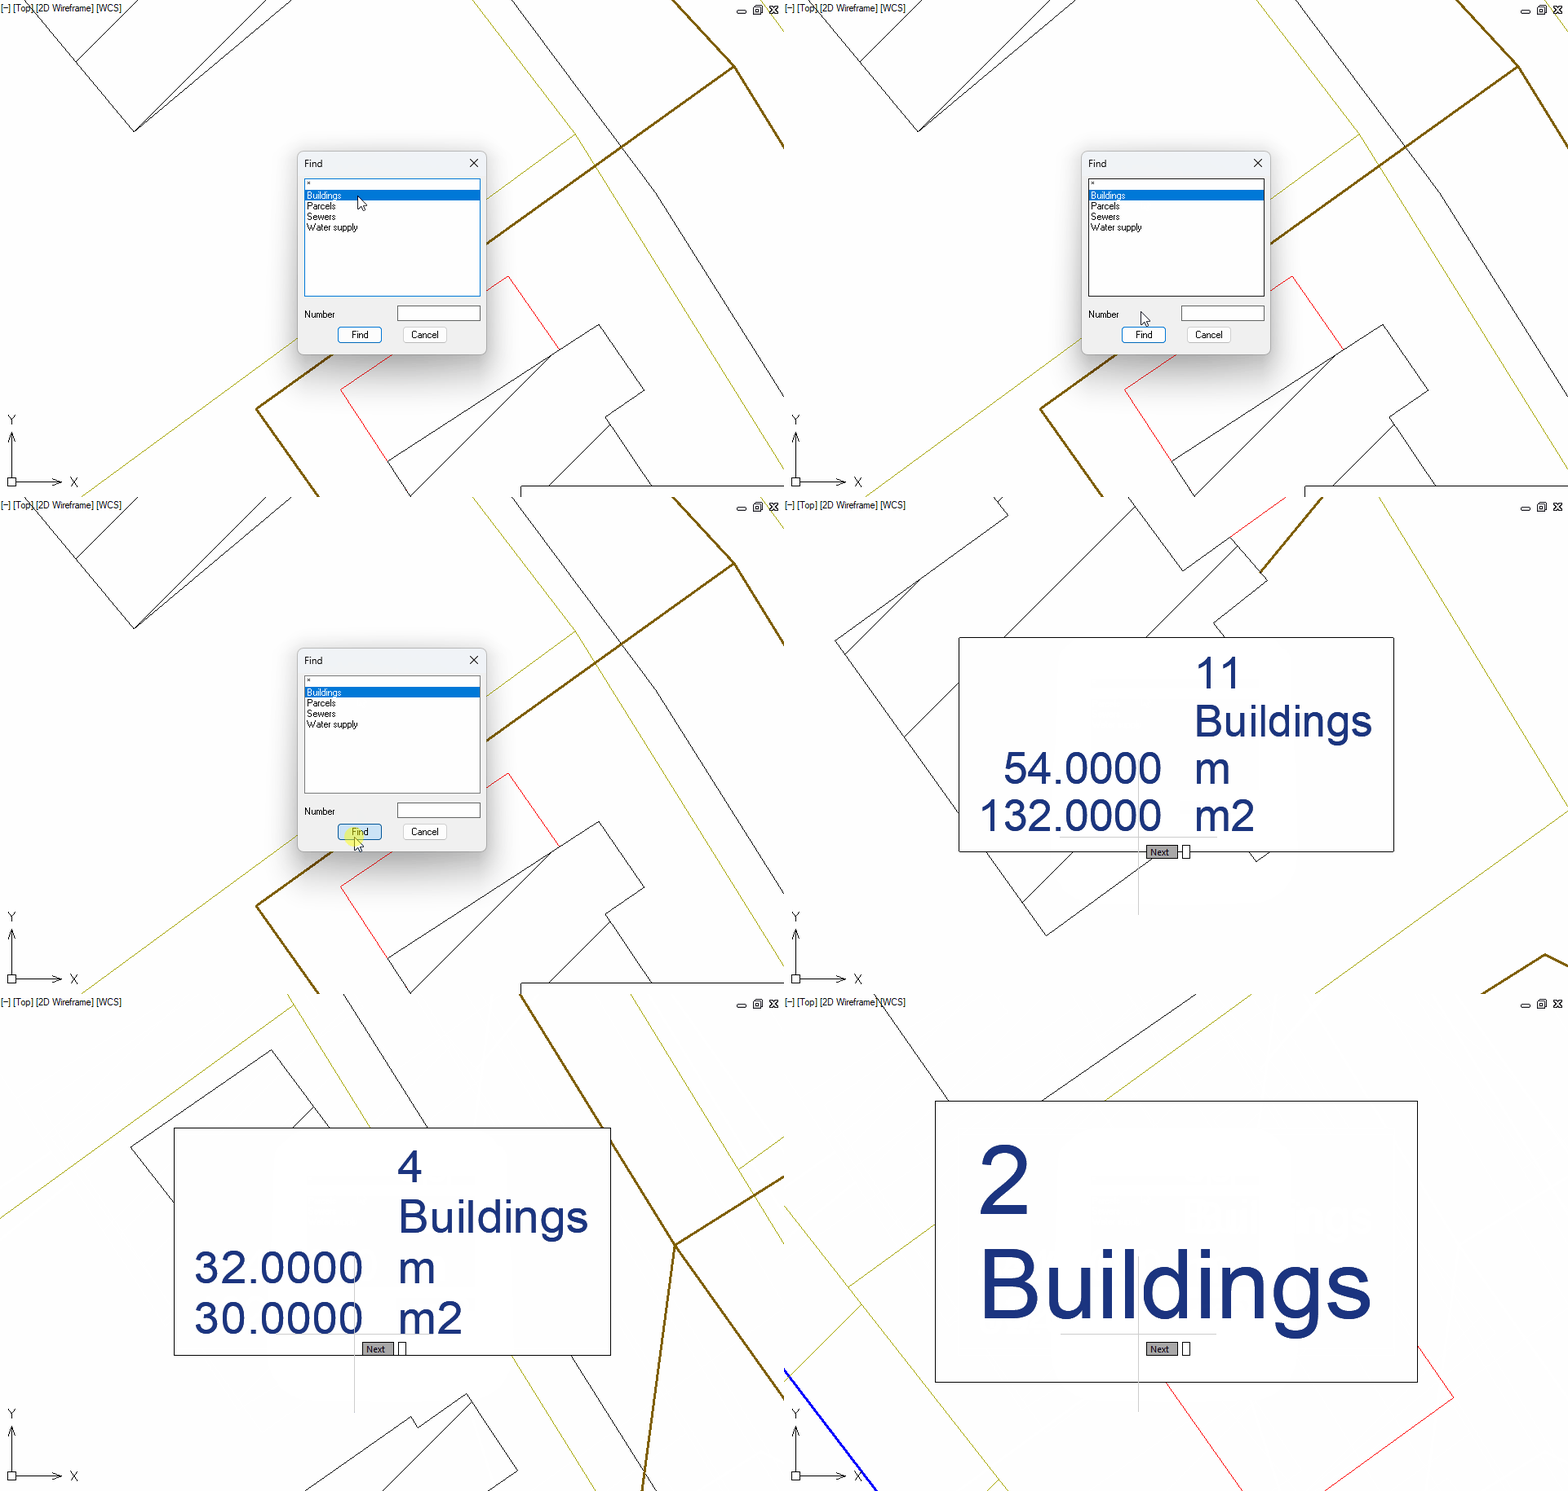
This tool, provided by ZWCAD, will certainly be appreciated by those working on large projects. Using the Find and Select functions, we can navigate through the descriptions we have created. For instance, Find will open a menu of our descriptions when launched.
With this panel, we can select a number or a description to move to it in the drawing. If you want to see every description in a category, once you have found the first one, just click the Space bar, and you'll be taken to the next one.
Select is different in that it immediately selects our chosen objects within the CAD drawing. This is akin to the SMARTSEL function, where our chosen descriptions are selected quickly and easily.
Making reports
The last thing I'll mention now is making reports with ZWCAD. There is a dedicated function for that on ZWMetric's menu, and it's really helpful.
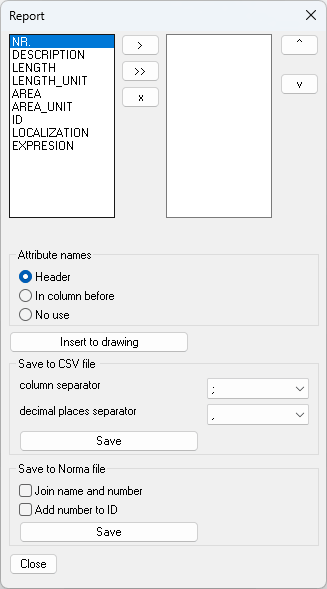
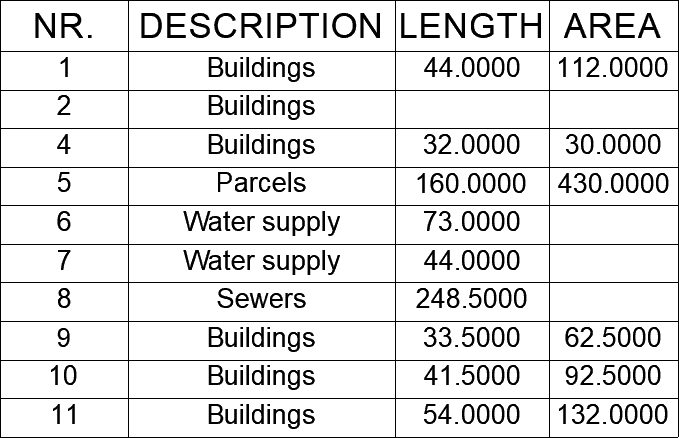
With the report menu in ZWMetric, you can save the results to a Norma or CSV file with some settings. You can also insert it into your CAD drawing.
Here's an example:
If at any point you encounter difficulties with the addon, simply click on the book icon in the ZWMetric application ribbon to access the user manual. Here, you'll find a comprehensive guide to all functions, complete with examples, ensuring a smooth experience.
I encourage you to explore ZWMetric and ZWCAD 2025. All the information you need is available on the product page. Dive in and discover the capabilities this application offer.


